10 Steps to Make the Best Wafer Cookies That Beat Store-Bought Every Time
There’s something truly magical about biting into a crispy, light wafer cookie. While store-bought wafer cookies might seem like a convenient option, they often lack the freshness, flavor, and personal touch that homemade ones deliver. Imagine creating your own batch of wafer cookies that are not only delicious but also tailored to your preferences—whether you love classic vanilla, rich chocolate, or a unique hazelnut twist.
In this post, we’ll guide you through 10 simple steps to make the best wafer cookies that are guaranteed to beat anything you’ll find on store shelves. From selecting quality ingredients to mastering the perfect crispiness, this recipe is all about making these delightful treats from scratch. Say goodbye to overly processed store-bought cookies and hello to the irresistible taste of homemade goodness.
What Are Wafer Cookies?
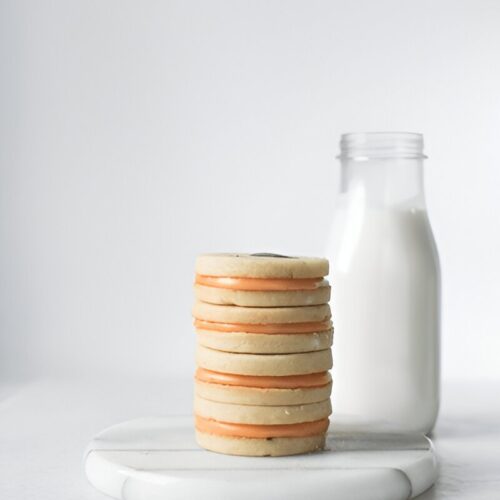
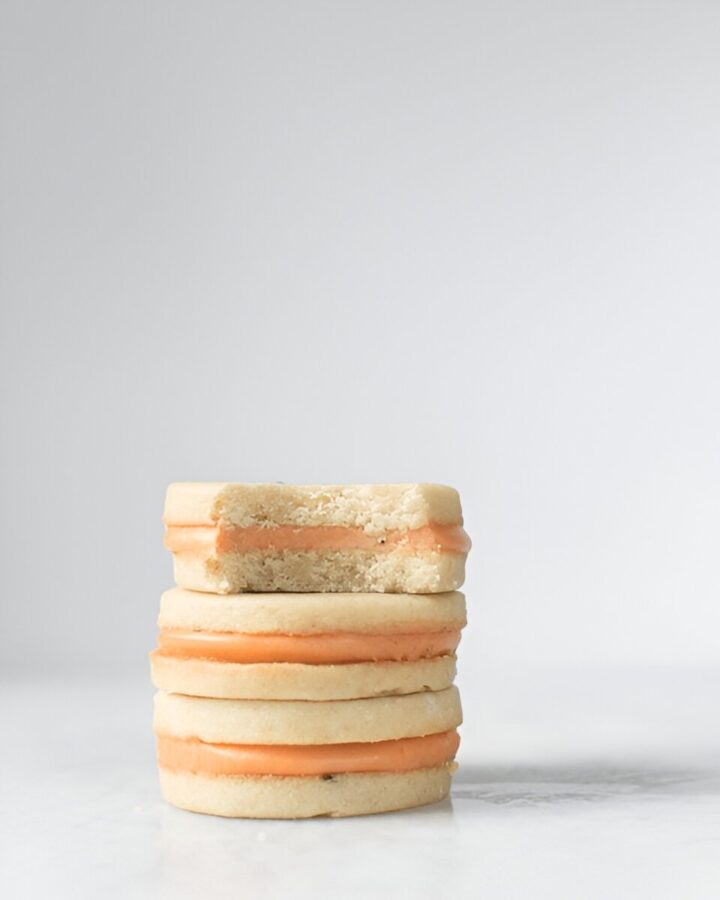
This type of cookies are thin, crispy, and light biscuits that have been delighting dessert lovers for generations. Known for their delicate texture and subtle sweetness, these cookies are often layered with creamy fillings like chocolate, vanilla, or hazelnut to create a treat that’s both satisfying and versatile.
Characteristics of Wafer Cookies
- Crisp and Light: Their signature texture comes from a thin, evenly baked batter, making them delightfully crunchy.
- Layered Design: Many wafer cookies are stacked with sweet fillings, creating a balance of flavors and textures.
- Customizable Flavors: From classic vanilla and chocolate to more exotic options like matcha or lemon, wafer cookies offer endless possibilities.
Wafer Cookies Around the World
- In Europe, wafer cookies are often used in elaborate desserts, such as the iconic Austrian Neapolitan wafers filled with hazelnut cream.
- In Asia, they’re a popular street food, frequently filled with unique flavors like taro or pandan.
- In North America, wafer cookies are commonly enjoyed as snacks, often dipped in chocolate for extra indulgence.
Homemade vs. Store-Bought Wafer Cookies
While store-bought ones are convenient, they often fall short in flavor and texture. Many are packed with preservatives and artificial flavors to extend shelf life. Homemade cookies, on the other hand, offer unparalleled freshness, superior taste, and the freedom to experiment with flavors and fillings.
So, whether you’re new to baking or a seasoned pro, making these cookies at home is an experience that truly elevates this simple yet delightful treat.
Homemade cookies offer a variety of advantages that make them a superior choice compared to store-bought alternatives. Here’s why you should consider baking your own cookies:
1. Superior Taste and Freshness
- Homemade wafer cookies are made with fresh ingredients, ensuring a richer, more authentic flavor. Unlike store-bought versions, which can be packed with preservatives and artificial flavors, your homemade cookies will have a natural, crisp sweetness that’s hard to beat.
2. Healthier and Customizable
- When you bake at home, you have full control over the ingredients. You can opt for healthier alternatives like organic sugar, butter, or gluten-free flour. You can also customize your wafer cookies with fillings like fresh fruit, dark chocolate, or low-sugar options, making them a much healthier treat compared to processed store-bought cookies.
3. No Artificial Additives or Preservatives
- Commercial wafer cookies often contain additives and preservatives to extend their shelf life. When making your own, you avoid these unwanted chemicals, resulting in a cleaner, more wholesome treat.
4. Cost-Effective
- Homemade wafer cookies are far more cost-effective than premium store-bought brands. You can make a large batch for a fraction of the price, and you’ll always have a fresh supply of delicious cookies ready to enjoy.
5. Endless Creative Possibilities
- One of the best things about making wafer cookies at home is the opportunity to get creative. You can experiment with flavors, fillings, and toppings. Whether you want classic vanilla, indulgent chocolate, or a unique flavor combination, homemade wafer cookies allow you to truly make the treat your own.

10 Steps to Make the Best Wafer Cookies That Beat Store-Bought Every Time
Equipment
- Mixing bowls
- Whisk or Electric Mixer
- Baking Tray
- Parchment Paper or Silicone Baking Mats
- Offset Spatula or Knife
- Ruler or Knife
Ingredients
For the Wafer Batter
- 1 cup all-purpose flour 125g
- ½ cup granulated sugar 100g
- ¼ teaspoon salt
- ½ cup unsalted butter 115g, melted
- 2 large eggs
- 1 teaspoon vanilla extract
- ½ cup whole milk 120ml
For the Filling
- ½ cup chocolate spread or hazelnut spread 120g
- ¼ cup whipped cream or buttercream frosting 60g
- ¼ cup powdered sugar for dusting 50g
Optional Add-Ins
- 1 teaspoon cocoa powder for chocolate-flavored wafers
- ½ teaspoon almond or hazelnut extract
Instructions
Step 1: Preheat Your Oven
- Set your oven to 350°F (175°C) and line a baking tray with parchment paper or a silicone baking mat.
Step 2: Prepare the Dry Ingredients
- In a mixing bowl, combine 1 cup (125g) all-purpose flour, 1/2 cup (100g) granulated sugar, and 1/4 teaspoon salt.
Step 3: Mix the Wet Ingredients
- In another bowl, whisk together 1/2 cup (115g) melted unsalted butter, 2 large eggs, 1 teaspoon vanilla extract, and 1/2 cup (120ml) whole milk.
Step 4: Combine Wet and Dry Ingredients
- Gradually add the wet mixture to the dry ingredients, whisking until you achieve a smooth, lump-free batter.
Step 5: Spread the Batter Thinly
- Using an offset spatula, spread a thin layer of batter onto the prepared baking tray. Aim for a thickness of about 1/8 inch (3mm).
Step 6: Bake the Wafers
- Bake in the preheated oven for 8–10 minutes, or until the edges turn golden brown.
Step 7: Cool the Wafers
- Remove the tray from the oven and allow the wafers to cool on the tray for 2–3 minutes before transferring them to a cooling rack.
Step 8: Add Fillings (Optional)
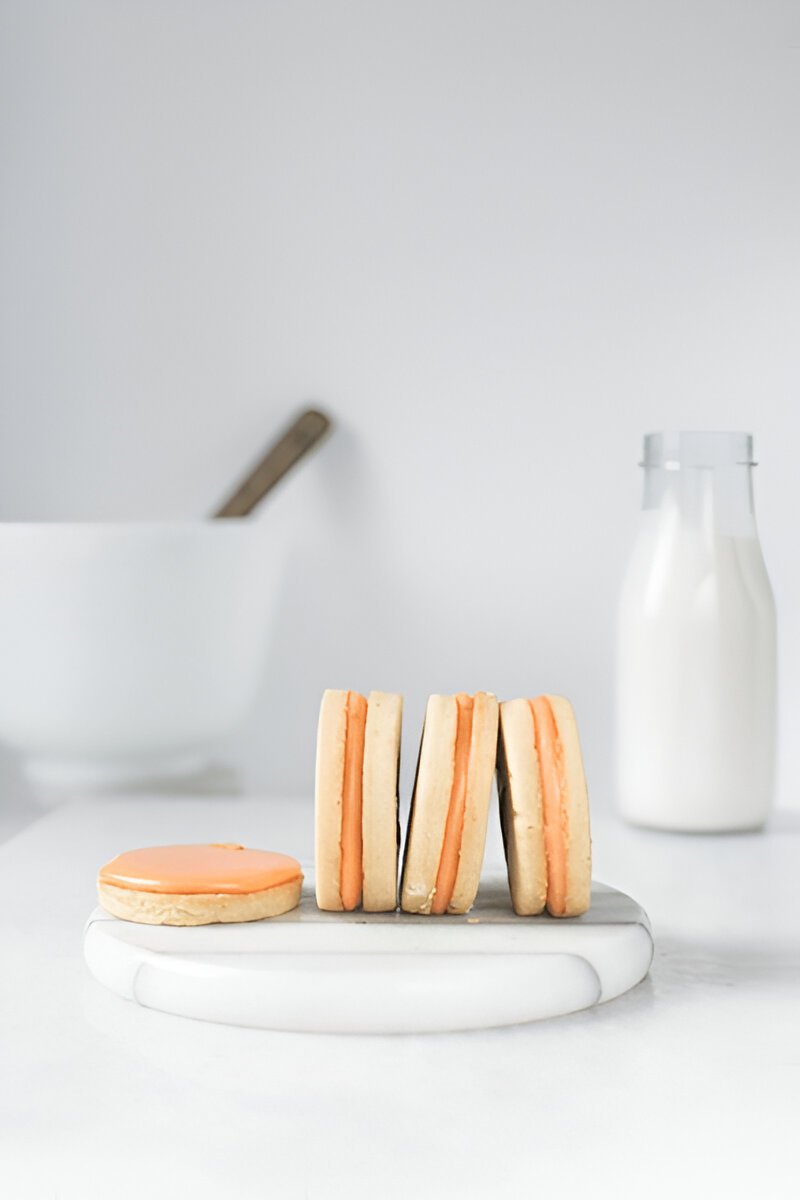
- Spread a thin layer of chocolate spread, buttercream frosting, or your favorite filling between two wafers. Press gently to sandwich them together.
Step 9: Cut Into Shapes
- Using a knife or pizza cutter, trim the edges and cut the wafers into your desired shapes—rectangles, squares, or triangles.
Step 10: Serve and Enjoy
- Dust the wafer cookies with powdered sugar or drizzle melted chocolate on top for an elegant finish. Serve immediately or store in an airtight container.
Homemade wafer not only taste better, but they also offer flexibility, freshness, and the satisfaction of creating something delicious from scratch. Plus, they’re a fun and rewarding project that anyone can enjoy!
Making your own is a rewarding experience that guarantees a superior treat compared to store-bought options. With just a few simple ingredients, the right tools, and a bit of creativity, you can craft crispy, delicious cookies that are fresher, healthier, and more flavorful than anything from the store. Whether you stick to the classic vanilla or get adventurous with fillings like chocolate or hazelnut, the possibilities are endless.
By following our step-by-step guide, you’ll not only enjoy homemade cookies but also discover how easy and fun baking can be. So, grab your ingredients, preheat your oven, and start making the best wafer cookies that will leave store-bought versions in the dust.


